
How to Actually Optimize PC Game Performance (Without Wasting Money on Hype Fixes)

Look, if your game is stuttering, dropping frames, or turning your $1500 rig into a slideshow, you don’t need another Reddit “magic fix.” You need to understand what’s actually happening under the hood.
I’ve spent years in QA watching broken builds get shipped anyway. Most performance problems aren’t mysterious. They’re predictable. And more importantly, they’re fixable—if you stop guessing and start testing.
This is a step-by-step breakdown of how to diagnose and fix PC game performance properly. No placebo tweaks. No snake oil.
Step 1: Establish a Baseline (Stop Guessing)
If you don’t know your starting point, every “fix” is meaningless.
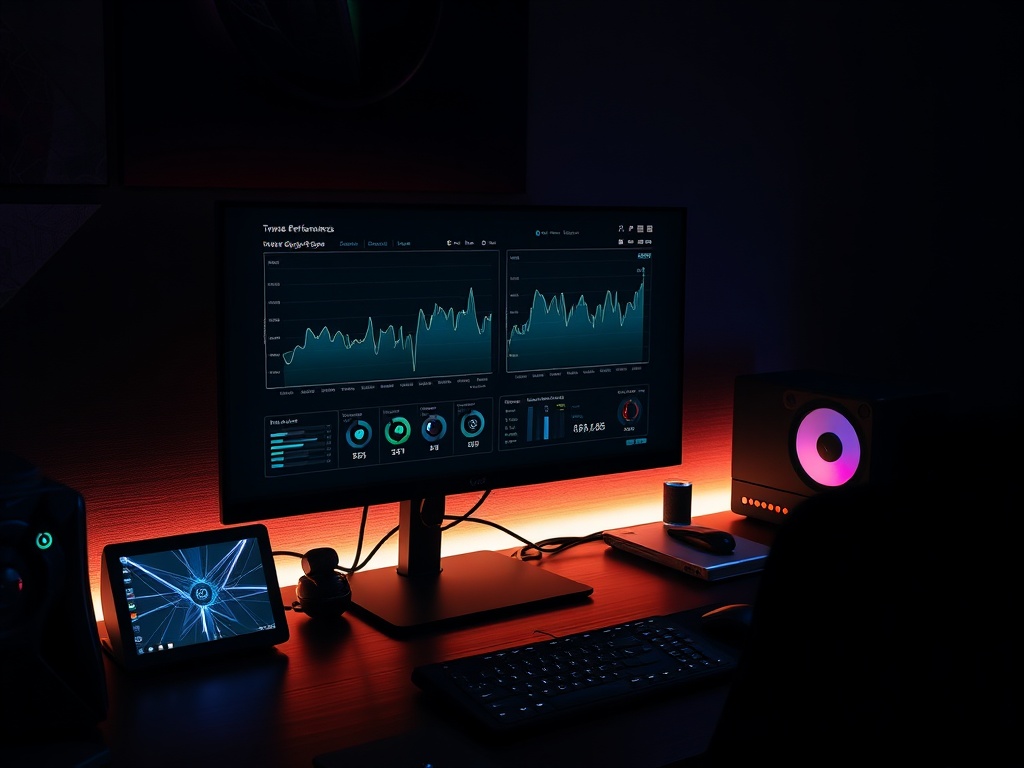
- Launch the game in a repeatable scenario (same area, same action)
- Use a tool like MSI Afterburner or in-game metrics
- Track FPS, 1% lows, and frame-time consistency
What you’re looking for:
- Stable FPS? Good.
- Spikes in frame-time? That’s stutter. That’s your real enemy.
Real talk: Average FPS is marketing. Frame pacing is reality.

Step 2: Identify the Bottleneck (CPU vs GPU)
Let’s look under the hood.
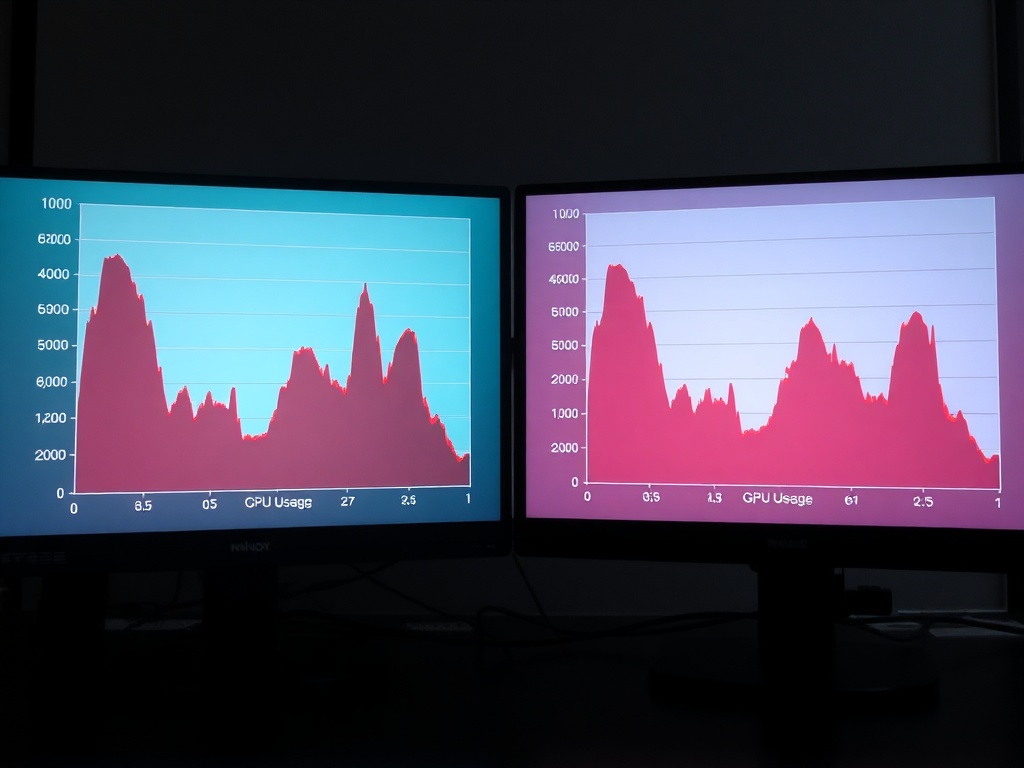
If your GPU is at 95–100% usage, congratulations—you’re GPU-bound. Lower graphics settings.
If your GPU is sitting at 60–70% while your CPU threads are maxed, you’re CPU-bound. Lower settings won’t save you much.
Common signs:
- GPU bottleneck: lowering resolution boosts FPS significantly
- CPU bottleneck: lowering resolution does almost nothing
This step alone saves people hundreds of dollars. Stop upgrading the wrong component.
Step 3: Kill Background Garbage
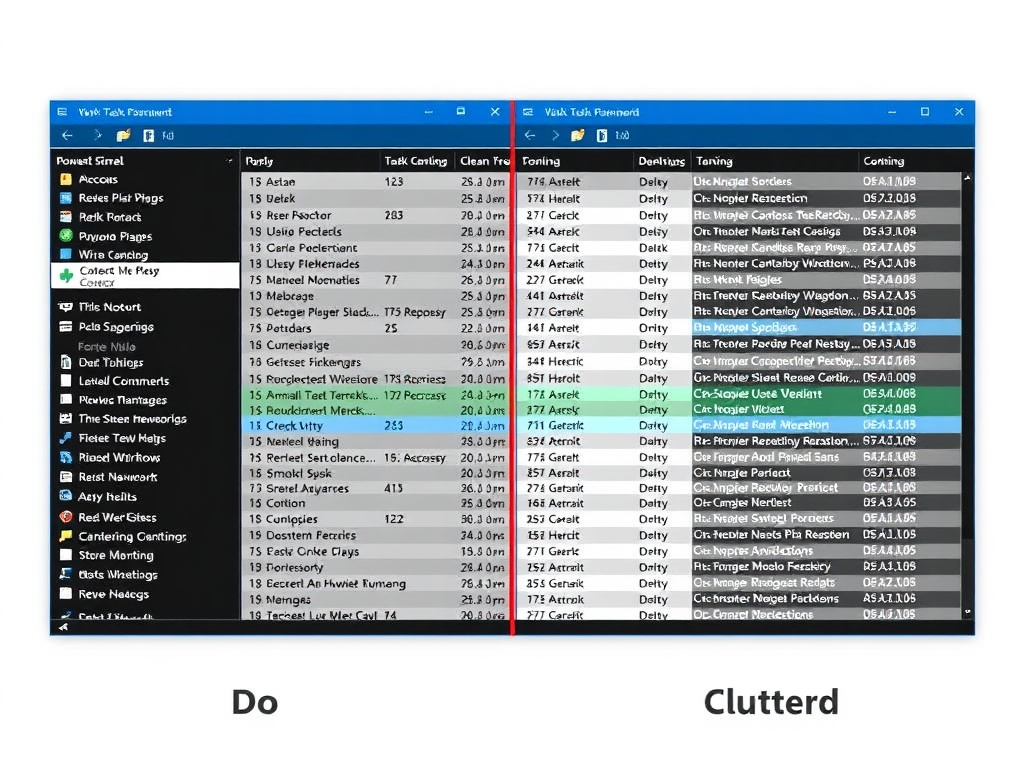
Look, your system isn’t just running your game. It’s running 20 other things you forgot about.
- Browser tabs (yes, even “just one YouTube video”)
- RGB control software
- Auto-updaters and launchers
Close them. All of them.
I’ve seen systems gain 10–15 FPS just from clearing background junk. That’s not optimization—that’s basic hygiene.
Step 4: Fix In-Game Settings That Actually Matter
Not all settings are equal. Some barely affect performance. Others will tank your frame-time.
High-impact settings:
- Shadows (huge CPU + GPU hit)
- Volumetric effects (fog, lighting)
- Ray tracing (obvious, but still abused)
- Crowd density / simulation settings
Low-impact settings:
- Texture quality (VRAM dependent)
- Anisotropic filtering
Start with shadows and volumetrics. Always.

Step 5: Deal With Shader Compilation Stutter
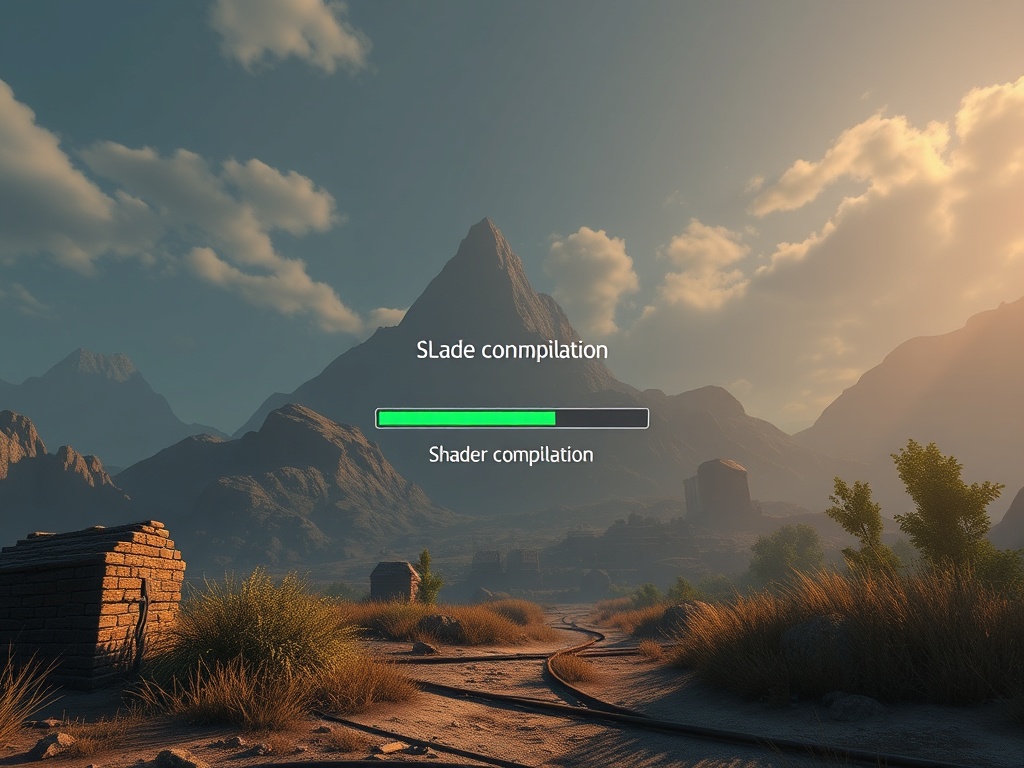
This one’s on the developers—but you still have to deal with it.
If your game stutters when entering new areas or during first-time effects, that’s shader compilation.
What you can do:
- Let the game fully compile shaders on first launch
- Don’t skip loading screens if it’s compiling
- Restart after initial compilation
If the game doesn’t offer pre-compilation? That’s a dev problem. Put it on your “wait for patches” list.
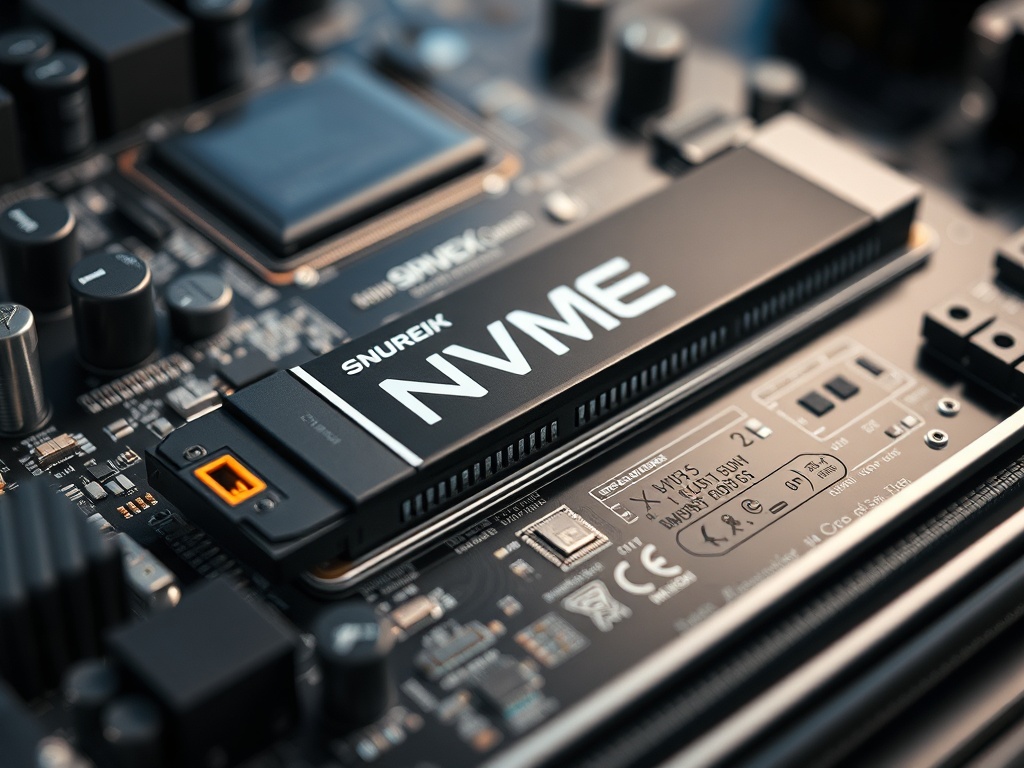
Step 6: Check Your Storage (Yes, It Matters)
If you’re still running modern games on a spinning HDD, we need to talk.
Streaming-heavy games (open worlds especially) rely on fast asset loading.
- SSD = smoother traversal
- NVMe = fewer hitching spikes
This won’t fix raw FPS, but it will fix those nasty traversal stutters.
Step 7: Update Drivers—But Don’t Blindly Trust Them
Driver updates can help. They can also break things.
Rule of thumb:
- New game? Try latest drivers
- Stable system? Don’t update just because you’re bored
Always check patch notes. If a driver specifically mentions your game, that’s your green light.
Step 8: Tweak Resolution and Upscaling Properly
This is where most people get it wrong.
Lowering resolution directly = brute force FPS gain.
Using DLSS / FSR / XeSS = smarter scaling.
But here’s the catch:
- DLSS Quality > Performance mode in most cases
- Ultra Performance = image degradation territory
You’re balancing clarity vs frame-time stability. Pick based on your tolerance, not marketing claims.

Step 9: Check for CPU Scheduling and Power Limits
If you’re on a laptop or prebuilt system, power limits might be choking your performance.
- Ensure Windows is set to High Performance mode
- Check thermal throttling
- Monitor CPU clock speeds under load
If your CPU is dropping clocks mid-game, you don’t have a settings problem—you have a cooling or power problem.

Step 10: Know When It’s Not Your Fault
Look, sometimes the game is just broken.
If you’ve:
- Confirmed your hardware is stable
- Optimized settings properly
- Eliminated background issues
…and it still stutters?
That’s on the developer.
Don’t waste hours chasing phantom fixes. Put the game down. Wait for patches. Your time matters more than their broken launch.

Test Bench (For Context)
Tested methodology across:
- Ryzen 7 5800X / RTX 3080 / 32GB RAM
- Mid-range system: Ryzen 5 5600 / RTX 3060
- Steam Deck (baseline compatibility checks)
If a game falls apart on mid-range hardware, that’s not a “settings issue.” That’s optimization failure.
The Verdict
Wallet-to-Value Ratio: High.
This process costs you nothing except time—and it saves you from throwing money at problems that don’t exist.
Recommendation: Follow this before upgrading anything. If performance still isn’t there, then—and only then—consider hardware upgrades.
Most of the time? The problem isn’t your rig. It’s bad optimization, bad defaults, or bad assumptions.
Steps
- 1
Establish a Baseline
- 2
Identify the Bottleneck
- 3
Kill Background Processes
- 4
Adjust High-Impact Settings
- 5
Handle Shader Compilation
- 6
Check Storage Speed
- 7
Update Drivers Carefully
- 8
Use Upscaling Correctly
- 9
Check Power and Thermals
- 10
Know When It’s the Game