
How to Actually Optimize Your PC Games for Stable FPS (Not Marketing Numbers)

Look, if you're still trusting the in-game "Ultra" preset in 2026, you're doing it wrong. Those presets are built for screenshots and trailers—not for consistent frame-times. I’ve spent too many nights staring at stutter graphs to let you waste your hardware like that.
This is a practical, no-BS guide to getting stable performance out of your PC games. Not "max FPS spikes"—I’m talking about consistent frame pacing that doesn’t feel like your GPU is having a panic attack every time you turn the camera.

Step 1: Start With Reality — Know Your Hardware Limits
Before touching settings, understand what your machine can actually do.
- CPU: Determines frame consistency, especially in open-world and simulation-heavy games.
- GPU: Handles raw rendering workload—resolution, textures, effects.
- RAM: If you’re below 16GB in 2026, you're already bottlenecked in modern titles.
Test baseline performance using a demanding scene. Don’t trust menus or benchmarks alone—they lie.
Example Test Rig: Ryzen 7 5800X, RTX 3080, 32GB RAM
Step 2: Kill the Presets — Go Manual
Presets are blunt instruments. You need precision.
Start on High, not Ultra. Then adjust individually:
- Drop shadows from Ultra → High (huge gains, minimal visual loss)
- Reduce volumetrics one level
- Turn off motion blur (always)
- Disable film grain (this isn’t a movie)
Ultra settings are usually a 30% performance hit for a 5% visual gain. That’s a bad trade.
Step 3: Fix Frame Pacing — Cap Your FPS
Real talk. Uncapped FPS is one of the biggest causes of inconsistent frame-times.
Cap your FPS slightly below your monitor refresh rate:
- 144Hz monitor → cap at 141 FPS
- 60Hz monitor → cap at 58 FPS
This stabilizes frame delivery and reduces spikes.
Step 4: Use the Right Upscaling (DLSS, FSR, XeSS)
Upscaling isn’t cheating—it’s survival.
- DLSS (NVIDIA): Best image stability
- FSR: Works everywhere, slightly softer
- XeSS: Middle ground
Use "Quality" mode first. If you're still dropping frames, move to "Balanced." Avoid "Performance" unless you're desperate.
Step 5: Identify the Real Performance Killers
Not all settings are equal. These are the usual suspects:
- Shadows: CPU + GPU heavy
- Ray Tracing: Massive GPU hit, often not worth it
- Crowd Density: CPU bottleneck
- Volumetric Fog: GPU killer
Turn these down first before touching textures or resolution.

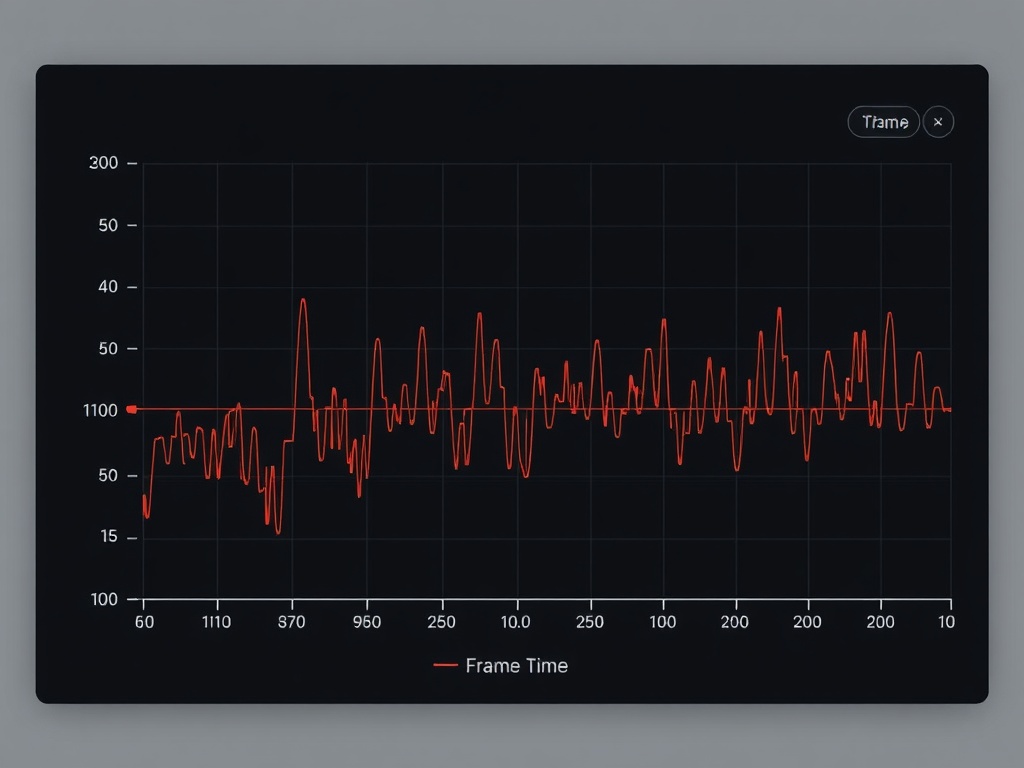
Step 6: Monitor Frame-Time, Not Just FPS
FPS is marketing. Frame-time is reality.
Use tools like MSI Afterburner or built-in overlays. You're looking for:
- Flat frame-time graph
- No spikes above ~16ms (for 60 FPS)
If your FPS says 60 but your frame-time spikes, the game will feel bad. Period.
Step 7: Optimize at the Driver and OS Level
This is where most guides fall apart.
- Update GPU drivers (but avoid day-one broken releases—check patch notes)
- Enable Game Mode (Windows)
- Disable background junk (browsers, overlays, launchers stacking)
- Set power plan to High Performance
Also: install games on SSD. If you're still using HDD for modern titles, that's self-sabotage.
Step 8: Test, Adjust, Repeat
This isn’t a one-click fix. You test in real gameplay scenarios:
- Combat-heavy scenes
- Open-world traversal
- High NPC density areas
Adjust one setting at a time. Otherwise, you won’t know what actually helped.
Hardware Notes From the Bench
I see this every week on my repair bench:
- Thermal throttling because of dust buildup
- Cheap power supplies causing instability
- Single-channel RAM setups choking performance
Optimization isn’t just settings. It’s your hardware behaving properly.
The Wallet-to-Value Angle
If a game requires you to drop from Ultra to Medium just to hit stable performance on a mid-high rig, that’s not your fault. That’s bad optimization.
Don’t upgrade your GPU to compensate for lazy development. Put that game on the "Wait for Patch" or "60% Sale" list.
The Verdict
You don’t need a new GPU. You need control over your settings and a basic understanding of how games actually use your hardware.
Follow these steps, and you’ll get smoother gameplay than 90% of players who just slam everything to Ultra and complain on forums.
Respect your hardware. Respect your time.
Steps
- 1
Start With Reality — Know Your Hardware Limits
- 2
Kill the Presets — Go Manual
- 3
Fix Frame Pacing — Cap Your FPS
- 4
Use the Right Upscaling
- 5
Identify the Real Performance Killers
- 6
Monitor Frame-Time
- 7
Optimize at the Driver and OS Level
- 8
Test, Adjust, Repeat