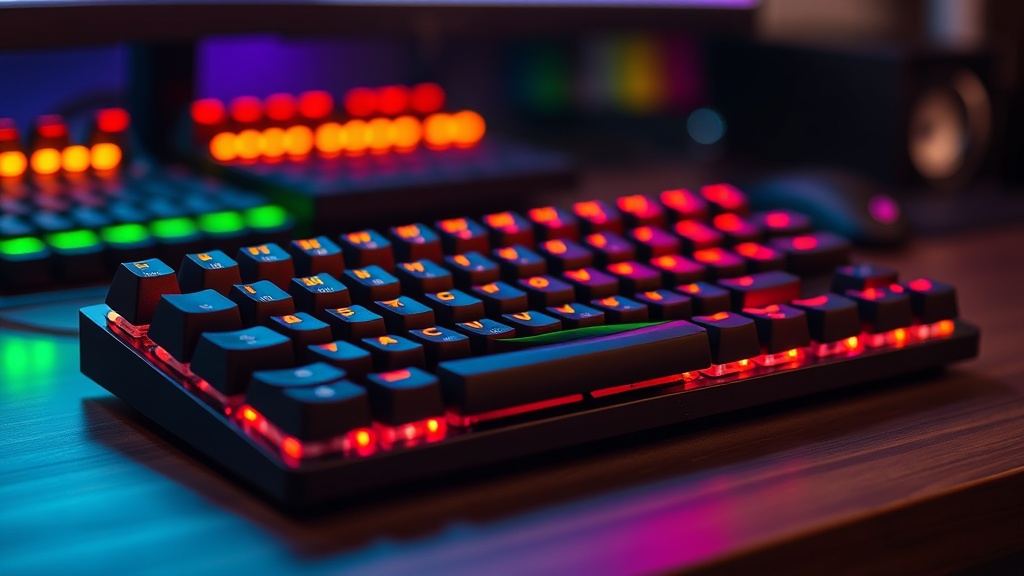
How to Build a Custom Mechanical Keyboard for Gaming

A competitive player sits in a high-stakes ranked match, eyes locked on the monitor, fingers dancing across a standard membrane keyboard. Suddenly, a key mushiness occurs during a crucial movement phase. The input registers a millisecond too late, or worse, the key sticks due to poor switch housing design. That single hardware failure results in a death screen and a lost rank. This guide explains how to build a custom mechanical keyboard to eliminate these variables, ensuring your input latency and tactile feedback are optimized for high-level gaming.
Building a custom keyboard isn't about aesthetics or "thock" sounds; it is about precision engineering. When you buy a pre-built gaming keyboard from a major manufacturer, you are often paying a premium for RGB lighting and marketing, while receiving subpar stabilizers and mediocre switches. By building your own, you control the actuation force, the polling rate, and the physical consistency of every single keystroke. This post covers the essential components, the assembly process, and the technical nuances required to build a tool that performs under pressure.
The Essential Components
To build a functional keyboard, you need five core components. Skipping a step or choosing low-quality parts will result in a board that feels inconsistent or suffers from high latency.
1. The PCB (Printed Circuit Board)
The PCB is the brain of your keyboard. For gaming, you must prioritize a PCB that supports NKRO (N-Key Rollover). This ensures that every single keypress is registered, even if you are mashing multiple keys during a complex macro or a frantic movement sequence. Look for PCBs that are Hot-Swappable. A hot-swappable PCB allows you to change switches without soldering, which is vital if you want to experiment with different actuation points or replace a dead switch quickly. If you are looking for the absolute lowest latency, research PCBs that support Rapid Trigger (Hall Effect) technology, such as those found in Wooting or specialized magnetic switch boards.
2. The Case
The case provides the structural integrity. While plastic (ABS or Polycarbonate) is lighter and more affordable, aluminum cases provide more weight and stability, preventing the keyboard from sliding during intense sessions. If you are a heavy-handed player, an aluminum case like those from Tofu60 offers the rigidity needed to keep the PCB perfectly aligned. The case also acts as an acoustic chamber; a well-designed case minimizes the "ping" sound caused by metal vibrations.
3. The Plate
The plate sits between the switches and the PCB, providing support. The material of the plate significantly affects the typing feel.
- Brass or Steel: These are stiff and heavy, providing a very firm, consistent feel.
- Aluminum: A middle ground that offers good stability without excessive stiffness.
- FR4 or Polycarbonate: These are more flexible and "bouncy," which can reduce finger fatigue during long sessions but may feel less precise to some players.
4. Switches
This is where most gamers make their biggest mistake. Do not just buy whatever is on sale. You need to choose based on the actuation force and travel distance.
- Linear Switches: These have no tactile bump. They are preferred by many FPS players (e.-g., Cherry MX Red or Gateron Yellow) because they allow for smooth, uninterrupted movement.
- Tactile Switches: These provide a physical bump when the key actuates. These are useful for games where precise, discrete inputs are necessary, such as strategy games or MMOs.
- Speed Switches: These have a shorter actuation point, meaning the key registers faster. For high-level play, these can provide a marginal advantage in reaction time.
5. Stabilizers
Stabilizers are the parts that prevent larger keys (like the Spacebar, Shift, and Enter) from wobbling. If your stabilizers are cheap, your spacebar will feel "mushy" or rattle, which is incredibly distracting. I recommend Screw-in Stabilizers over clip-in versions. Screw-in stabilizers offer a much more secure connection to the PCB, reducing lateral movement and ensuring that your heavy-hitting keys remain precise.
The Assembly Process
Once you have gathered your parts, the assembly requires patience and a steady hand. You will need a small screwdriver set, a switch puller, and potentially a soldering iron if you did not purchase a hot-swappable PCB.
Step 1: Testing the PCB
Before you install a single switch, plug your PCB into your computer. Open a keyboard tester website or a simple text document. Use a pair of metal tweezers to short the two metal contact points of each switch socket. If the computer registers a keypress for every contact you touch, your PCB is functional. If a contact doesn't register, you have a faulty board and need to RMA it before building. Do not skip this step.
Step 2: Preparing the Stabilizers
This is the most critical step for a high-quality feel. Most stock stabilizers come with a "scratchy" feel. You should lubricate them. Use a synthetic grease like Krytox 205g0 on the sliding parts of the stabilizer housing. This eliminates the "rattle" that plagues most gaming keyboards. Once lubricated, snap or screw them into the PCB. Test them by pressing the stabilizer stem to ensure they move smoothly before moving to the next step.
Step 3: Installing the Plate and Switches
Lay your plate over the PCB. Start by installing the switches in the corners and the center to align the plate and PCB perfectly. When inserting switches, ensure the two metal pins are perfectly straight. If a pin is even slightly bent, it will not enter the socket and could damage the PCB. If you feel resistance, stop and straighten the pin with tweezers. For gaming, ensure your switches are seated firmly so that there is no "play" in the keycap during rapid tapping.
Step 4: Mounting the PCB into the Case
Place the assembled PCB/Plate combo into your case. Most enthusiast keyboards use a "mount" system.
- Tray Mount: The PCB is screwed directly into the bottom of the case. It is simple but can result in uneven typing feel if the screws aren't tightened evenly.
- Gasket Mount: The PCB is sandwiched between foam or rubber gaskets. This provides a more cushioned, consistent feel and is excellent for reducing high-frequency vibrations.
Step 5: Adding Keycaps
The final touch is the keycaps. For gaming, look for PBT (Polypropylene Butyl Terephthalate) keycaps. PBT is more durable and has a textured feel that resists the "shine" caused by finger oils over time. Most cheap keyboards use ABS plastic, which becomes slippery and shiny after a few months of heavy use. High-quality PBT keycaps will maintain their grip and texture, which is vital for maintaining finger position during intense gameplay.
Optimization and Maintenance
Once the build is complete, your job isn't quite over. To truly optimize a custom board for gaming, you should consider software and physical maintenance.
First, check if your PCB supports QMK or VIA. These are open-source firmware that allow you to remap any key and create complex macros at the hardware level. This is far superior to using "gaming software" provided by manufacturers, which often runs heavy background processes that can consume CPU cycles and increase system latency. By programming your macros directly into the keyboard's firmware, they will work on any computer without needing extra software running.
Second, keep an eye on your hardware. If you notice a key becoming less responsive, it is often due to dust or debris inside the switch housing. Since you built a custom board, you can easily pop the keycap off and use a can of compressed air to clear the area. If the switch itself is the issue, a hot-swappable PCB allows you to swap that single switch out in seconds, rather than discarding an entire keyboard.
Building a custom mechanical keyboard is an investment in your setup's reliability. While it requires more upfront research and assembly time than buying a "plug-and-play" gaming keyboard, the result is a piece of hardware that is tuned specifically to your tactile preferences and input requirements. In a game where milliseconds determine the outcome, having a tool that is perfectly optimized is not a luxury—it is a competitive necessity.
Steps
- 1
Choose Your Layout and Base
- 2
Select Your Switches
- 3
Pick Your Keycap Profile
- 4
Assemble and Test