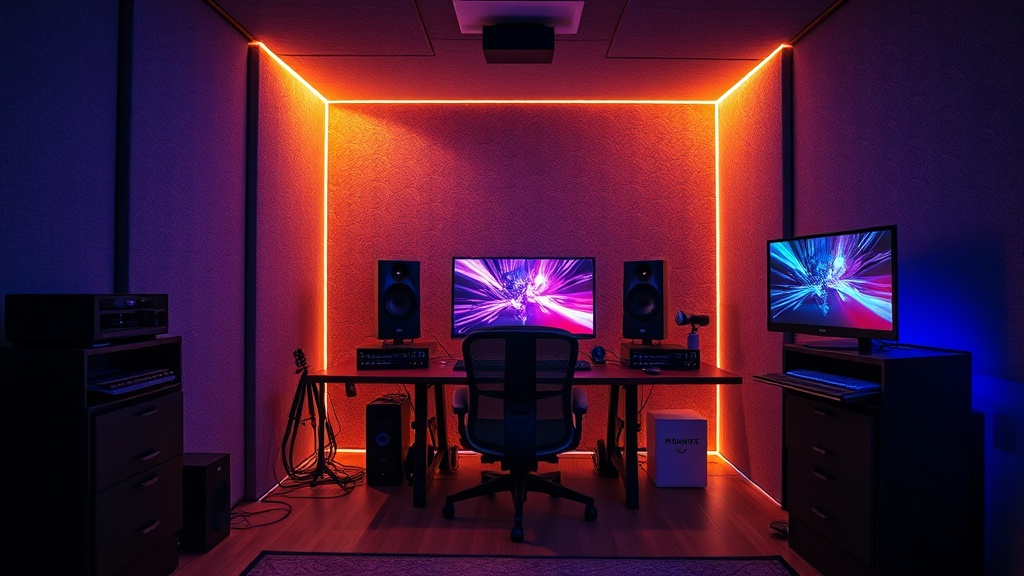
How to Build a Professional Soundproof Booth for Your Gaming Setup

A streamer is mid-clutch in a high-stakes tactical shooter when a neighbor’s lawnmower starts up outside. Simultaneously, a heavy truck rumbles down the street, sending a low-frequency vibration through the floorboards. Even with a high-end XLR microphone and a dynamic cardioid pattern, the audio feed captures the mechanical roar and the structural rattle. This isn't just an annoyance; it is a technical failure that ruins immersion for the audience and degrades the professional quality of the broadcast. This guide explains how to construct a functional, professional-grade soundproof booth to isolate your gaming setup from environmental noise and acoustic reflections.
Building a soundproof booth requires distinguishing between two different technical challenges: soundproofing and acoustic treatment. Soundproofing (isolation) prevents sound from entering or leaving the booth, such as your keyboard clicks or a vacuum cleaner in the next room. Acoustic treatment (absorption) manages the sound inside the booth to prevent echoes and "boxiness." To achieve a professional result, you must address mass, decoupling, and absorption.
Step 1: Selecting the Footprint and Structural Frame
The most common mistake is building a booth that is too small. If your booth is barely larger than your chair, you will create a "small room" effect where low-mid frequencies build up rapidly, making your voice sound muddy. Aim for a minimum footprint of 4' x 4' with a height of at least 7 feet to accommodate a gaming chair and overhead monitor mounts.
For the structural frame, avoid lightweight PVC or thin wood. You need mass to block sound waves. I recommend using 2x4 kiln-dried lumber for the base frame. This provides the structural integrity needed to support the weight of heavy acoustic panels and ensures the booth doesn't wobble when you move your peripherals. If you are building a modular setup, consider using aluminum extrusion profiles like those used in industrial workstations, though timber is more cost-effective for a permanent build.
The Flooring Foundation
Sound travels through solids (structure-borne noise). If your booth sits directly on a hardwood or laminate floor, the vibrations from your PC fans or a mechanical keyboard will travel through the floor and into your microphone stand. To mitigate this, lay down a high-density rubber mat—similar to those used in commercial gyms—before installing your flooring. On top of the rubber, use a thick piece of 3/4-inch plywood, and finally, add a heavy rug. This multi-layered approach creates a decoupled surface that dampens mechanical vibrations.
Step 2: Wall Construction and Mass Loading
To block external noise, you cannot rely on thin foam. Foam is an absorber, not a blocker. To truly soundproof, you need mass. The gold standard for DIY builds is the "Double Wall" method or using specialized materials like Mass Loaded Vinyl (MLV).
When building your walls, use two layers of 5/8-inch Type X gypsum board (drywall). The thickness of the drywall is critical because higher mass correlates directly with higher sound attenuation. Between these two layers of drywall, you must install an isolation layer. This is where most hobbyists fail. Instead of just nailing the boards together, use Green Glue Noiseless Compound between the layers. This viscoelastic damping compound converts sound energy into trace amounts of heat, significantly reducing the transmission of low-frequency rumbles.
- Layer 1: 5/8-inch Type X Drywall
- Interlayer: Green Glue Damping Compound
- Layer 2: 5/8-inch Type X Drywall
- Internal Cavity: Fill the space between the studs with Rockwool Safe'n'Sound insulation.
Rockwool is superior to standard pink fiberglass insulation because it has a much higher density, specifically designed to absorb mid-to-low frequency sounds. This prevents the hollow "drum" effect within your wall cavities.
Step 3: Managing the Door and Air Gaps
A soundproof booth is only as strong as its weakest point. In 90% of builds, the weakest point is the door. A standard hollow-core interior door provides almost zero acoustic isolation. If you use a hollow door, you might as well not bother with the heavy drywall. You must use a solid-core wood door. A solid-core door has the mass required to actually stop sound waves from passing through.
Even with a solid door, sound will leak through the gaps around the frame (the "air gap" problem). If air can pass through, sound can pass through. To solve this, you need to implement a two-part sealing system:
- The Perimeter: Install heavy-duty rubber weatherstripping around the entire door frame. When the door closes, it should compress the rubber to create an airtight seal.
- The Threshold: Use an automatic door bottom or a heavy-duty drop seal. This is a mechanical device that drops a gasket down to the floor when the door is shut, sealing the gap between the bottom of the door and the floor.
If you are building a booth for high-intensity gaming or streaming, ensure your cable management for your PC and peripherals doesn't create a new hole in your isolation. Use a specialized "cable pass-through" or a notched piece of wood filled with acoustic sealant to keep the integrity of the enclosure.
Step 4: Internal Acoustic Treatment
Once the booth is soundproofed, the interior will likely sound "dead" or overly boomy due to the high-density walls. This is where acoustic treatment comes in. You need to treat the first reflection points to ensure your voice sounds natural and clear on your stream or recording.
Avoid the cheap, thin "egg crate" foam found on most budget sites. That foam is too thin to do anything but kill high-frequency flutter, leaving your audio sounding muffled and unbalanced. Instead, use professional-grade acoustic panels. I recommend panels made of high-density fiberglass or rockwool, wrapped in breathable fabric. These should be at least 2 to 4 inches thick.
Strategic Placement
Place your panels at the following locations to optimize your audio environment:
- The Front Wall: Directly behind your monitor/microphone to catch your voice as it travels forward.
- The Side Walls: At ear level, to catch reflections from the sides of your head.
- The Rear Wall: To prevent sound from bouncing off the back of your chair and hitting the mic.
- Corner Bass Traps: This is non-negotiable. Low-frequency energy tends to pool in corners. Placing thick, triangular bass traps in the vertical corners of your booth will prevent that "muddy" sound that plagues amateur setups.
Step 5: Ventilation and Thermal Management
A soundproof booth is, by definition, an airtight box. If you sit in a 4' x 4' box with a high-end PC, a dual-monitor setup, and a human body, the temperature will rise rapidly. Heat exhaustion is a real issue for long-form gamers and streamers. However, you cannot simply cut a hole in the wall for a fan, as that would destroy your soundproofing.
The solution is a "Baffle Box" or "S-Curve" ventilation system. You must build a wooden box with a zig-zag internal path lined with acoustic foam. This allows air to pass through the bends, but the sound waves hit the foam walls and dissipate before they can exit the booth. You can use a quiet, low-RPM inline duct fan (like those used in hydroponic setups) to pull air through this system. This creates a constant air exchange without the high-pitched whine of a standard PC fan leaking into your microphone.
Technical Checklist for Completion
Before you start drilling, ensure you have the following components ready. A lack of preparation leads to wasted material and poor seals.
- Mass: Solid-core door, 5/8-inch Type X drywall, and Mass Loaded Vinyl.
- Absorption: 2-to-4-inch thick rockwool panels and corner bass traps.
- Sealing: Rubber weatherstripping and acoustic sealant (caulk).
- Decoupling: Rubber floor mats and heavy-duty damping compound.
- Airflow: Inline duct fan and a custom-built baffle box.
Building a professional booth is a significant undertaking, but the result is a controlled environment where your technical skill and audio quality can actually shine. Whether you are a professional streamer or a serious enthusiast, controlling your acoustic environment is the single most effective way to separate yourself from the amateur crowd. If you're looking to optimize your other hardware, you might also find value in learning why you should set up a dedicated sim racing rig, as both require a high level of environmental control for the best experience.
Steps
- 1
Measure your desk space and acoustic needs
- 2
Choose between foam panels or heavy fabric curtains
- 3
Construct a frame using lightweight wood or PVC
- 4
Install sound-absorbing materials to dampen echoes