How to Build a Retro Gaming Console with a Raspberry Pi

Learn how to select, assemble, and optimize a Raspberry Pi-based retro gaming console for high-performance emulation.
Building a retro gaming console is not just about plugging in a microSD card and hoping for the best. If you want a machine that actually maintains consistent frame rates and avoids input lag, you need to understand the hardware bottlenecks and software configurations that separate a cheap toy from a legitimate emulation station. This guide covers the hardware selection, the installation of RetroPie or Recalbox, and the technical optimizations required to run everything from 8-bit NES titles to more demanding PlayStation 1 or Dreamcast emulation without stuttering.
Selecting Your Hardware: The Core Components
The most common mistake in this build is underestimating the power required for specific emulators. While a Raspberry Pi 3B+ can handle anything up to the 16-bit era (SNES, Genesis), it will struggle significantly with anything involving 3D hardware acceleration. For a modern, versatile build, you should aim for a Raspberry Pi 4 Model B or the Raspberry Pi 5.
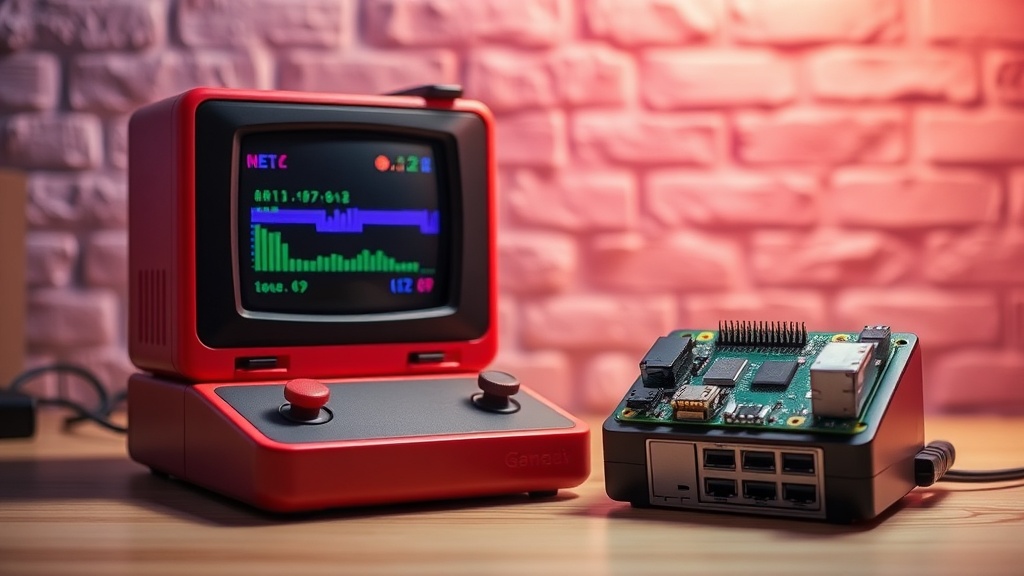
The Single Board Computer (SBC)
- Raspberry Pi 5: The current gold standard for emulation. It provides the CPU overhead necessary for higher-end cores like those used for N64 and certain arcade environments.
- Raspberry Pi 4 (4GB or 8GB RAM): A reliable middle ground. The extra RAM isn't strictly necessary for the emulation itself, but it provides much-needed headroom for the operating system and background processes, preventing micro-stutters.
Storage and Power Stability
Do not use a generic, no-name microSD card. Emulation involves heavy read/write operations when loading ROM sets and saving states. Use a high-end card like the SanDisk Extreme or Samsung EVO Select with a Class 10 U3 rating. Furthermore, ensure you are using an official Raspberry Pi power supply. Undervoltage is the primary cause of "throttling," where the CPU slows down to prevent a crash, resulting in massive frame drops during gameplay.
Cooling and Thermal Management
The Raspberry Pi 4 and 5 generate significant heat when running intensive emulators. If your board hits its thermal limit, the OS will throttle the clock speed, and your game will lag. I highly recommend a passive heatsink case like the Flirc Case for silent operation, or an active cooling solution like the Argon ONE or the official Raspberry Pi Active Cooler if you plan on pushing the hardware with demanding systems.
Step 1: Preparing the Operating System
Once you have your hardware, you need to flash a specialized operating system onto your microSD card. The two industry standards are RetroPie (based on Raspbian) and Recalbox (which is more "plug-and-play"). For users who want granular control over configuration files and kernel settings, RetroPie is the superior choice.
Step 2: Input and Peripheral Configuration
A console is useless without a way to interact with it. While you can use any USB keyboard for initial setup, you should be using a dedicated controller for a proper experience. If you are building this for a more serious gaming setup, you might already be familiar with the nuances of input latency. For example, if you are used to using a controller for strategy games, you will appreciate the precision needed for fighting games or platformers on this build.
USB vs. Bluetooth Controllers
- USB Wired Controllers: These are the gold standard for emulation. They offer the lowest possible input latency and require zero configuration. An 8BitDo Pro 2 or a standard wired Xbox controller works flawlessly.
- Bluetooth Controllers: While convenient, Bluetooth can introduce a slight delay (input lag) and can sometimes suffer from interference. If you use a Bluetooth controller, ensure your Pi is not tucked behind a metal chassis or a heavy TV, which can degrade the signal.
Step 3: Loading ROMs and BIOS Files
The software is the engine, but the ROMs are the fuel. However, you cannot simply dump every file you own into the folders. You must distinguish between a ROM (the game data) and a BIOS file (the system software required to run the game).
The Importance of BIOS Files
Systems like the PlayStation 1, Sega CD, and Neo Geo require specific BIOS files to function. Without them, you will encounter black screens, audio glitches, or games that simply refuse to boot. You must place these files in the specific /share/bios/ or /configs/ directory within your file structure. For example, to play PS1 games, you need files like scph5501.bin in the correct folder.
Transferring Files via SFTP
Instead of removing the microSD card every time you want to add a game, use SFTP (Secure File Transfer Protocol). You can use a program like FileZilla on your PC to connect to your Raspberry Pi over your local network. This allows you to drag and drop ROMs directly into the appropriate folders (e.g., /roms/snes/) while the Pi is running.
Step 4: Technical Optimization for Performance
This is where most builders fail. They load a game, see a frame rate of 45 FPS instead of 60, and assume the hardware is too weak. Often, the issue is a lack of optimization.
Adjusting Video Settings
In the RetroArch menu (which powers most of RetroPie's cores), navigate to Settings > Video > Scaling. If you are using a modern 4K television, the Pi is likely struggling to upscale the low-resolution signal. Set your scaling to "Integer Scale" to avoid flickering or uneven pixel sizes. If the game feels "heavy," check your Input > Polling Rate settings to ensure your controller is being read at the highest frequency possible.
Managing Core Selection
Not all "cores" are created equal. A core is the actual emulation engine. For the SNES, you might have several options. The Snes9x core is generally more stable and performant on a Raspberry Pi than the more advanced bsnes core, which attempts higher accuracy but at a massive cost to CPU overhead. If a game is lagging, switch to a "lighter" core.
Overclocking (Proceed with Caution)
If you have a solid cooling solution in place, you can overclock your Raspberry Pi to squeeze out extra frames. This involves editing the config.txt file. You can increase the over_voltage_begin and arm_freq values. However, I strongly advise against this unless you are using an active cooling fan. Overclocking without heat management is a fast way to permanent hardware degradation.
Troubleshooting Common Issues
Issue: The screen is flickering or has "tearing" artifacts.
Solution: Enable V-Sync in the RetroArch settings. This synchronizes the frame output with your monitor's refresh rate, eliminating the horizontal lines that appear during fast movement.
Issue: Audio is crackling or out of sync.
Solution: This is often a result of the CPU being overwhelmed. Check if you are running a core that is too heavy for your hardware. Additionally, ensure your audio driver is set to alsa rather than pulse for lower latency.
Issue: Controller buttons are mapped incorrectly.
Solution: Re-run the "Configure Input" script from the RetroPie menu. Ensure you are not accidentally using a "keyboard" profile for a gamepad, which will cause significant input lag.
Building a high-performance retro console requires a methodical approach to hardware and a deep dive into software configuration. By focusing on thermal management, high-quality storage, and the correct core selection, you can move beyond a basic hobbyist setup and create a machine that truly honors the legacy of the games it runs.
Steps
- 1
Gather your hardware including a Raspberry Pi, microSD card, and power supply
- 2
Download and flash your chosen emulation OS onto the microSD card
- 3
Connect your USB controllers and peripherals to the Pi
- 4
Transfer your game ROMs to the device via network or USB
- 5
Configure your input settings and start playing